
Creating processes isn’t just about making flowcharts and writing SOPs. It’s about clarity, accountability, and repeatable success. At Catalyst FlowOps, we believe that anyone can learn to build smart, effective systems—if they start with the right mindset and tools.
Here’s a practical, no-fluff method you can use to teach someone how to create business processes from scratch, using real-world tools like checklists, forms, and flow diagrams.
“Start with what’s real, not what’s ideal.”
Before designing anything, observe and capture how things are currently done. This isn’t about theory—it’s about watching the actual work in action.
“Every process has a reason and a result.”
A clear process has:
This helps you define the scope of the process and understand its purpose within the bigger picture.
“If you can’t write it down, it’s not real.”
Old-school still works. Paper forms or checklists are powerful tools for tracking complex workflows, especially when starting out.
This “process trail” brings hidden details to the surface.
“Now let’s make the invisible, visible.”
Once you’ve got the steps and flow written down, it’s time to map it out visually.
Use Diagram.io (draw.io)—a free, powerful diagramming tool perfect for process maps. It makes it easy to share and update as your process evolves.
“No process is perfect the first time.”
Now that you can see the flow, evaluate it:
This is where optimization starts.
“If it’s not documented, it doesn’t exist.”
Once your flow is mapped and cleaned up, write a short, usable process doc. Keep it practical:
Make it accessible—whether in Google Docs, Notion, or your preferred system.
“Your team is your best feedback loop.”
Hand the process to someone who wasn’t involved and see how they do.
Adjust and improve the process accordingly. Good processes evolve over time.
Creating business processes shouldn’t feel like building a bureaucracy. It should feel like building momentum. The Catalyst FlowOps approach is all about empowering people with clarity, not burying them in complexity.
Start with what’s real. Use simple tools. And remember—Diagram.io is your best friend for mapping things out visually.
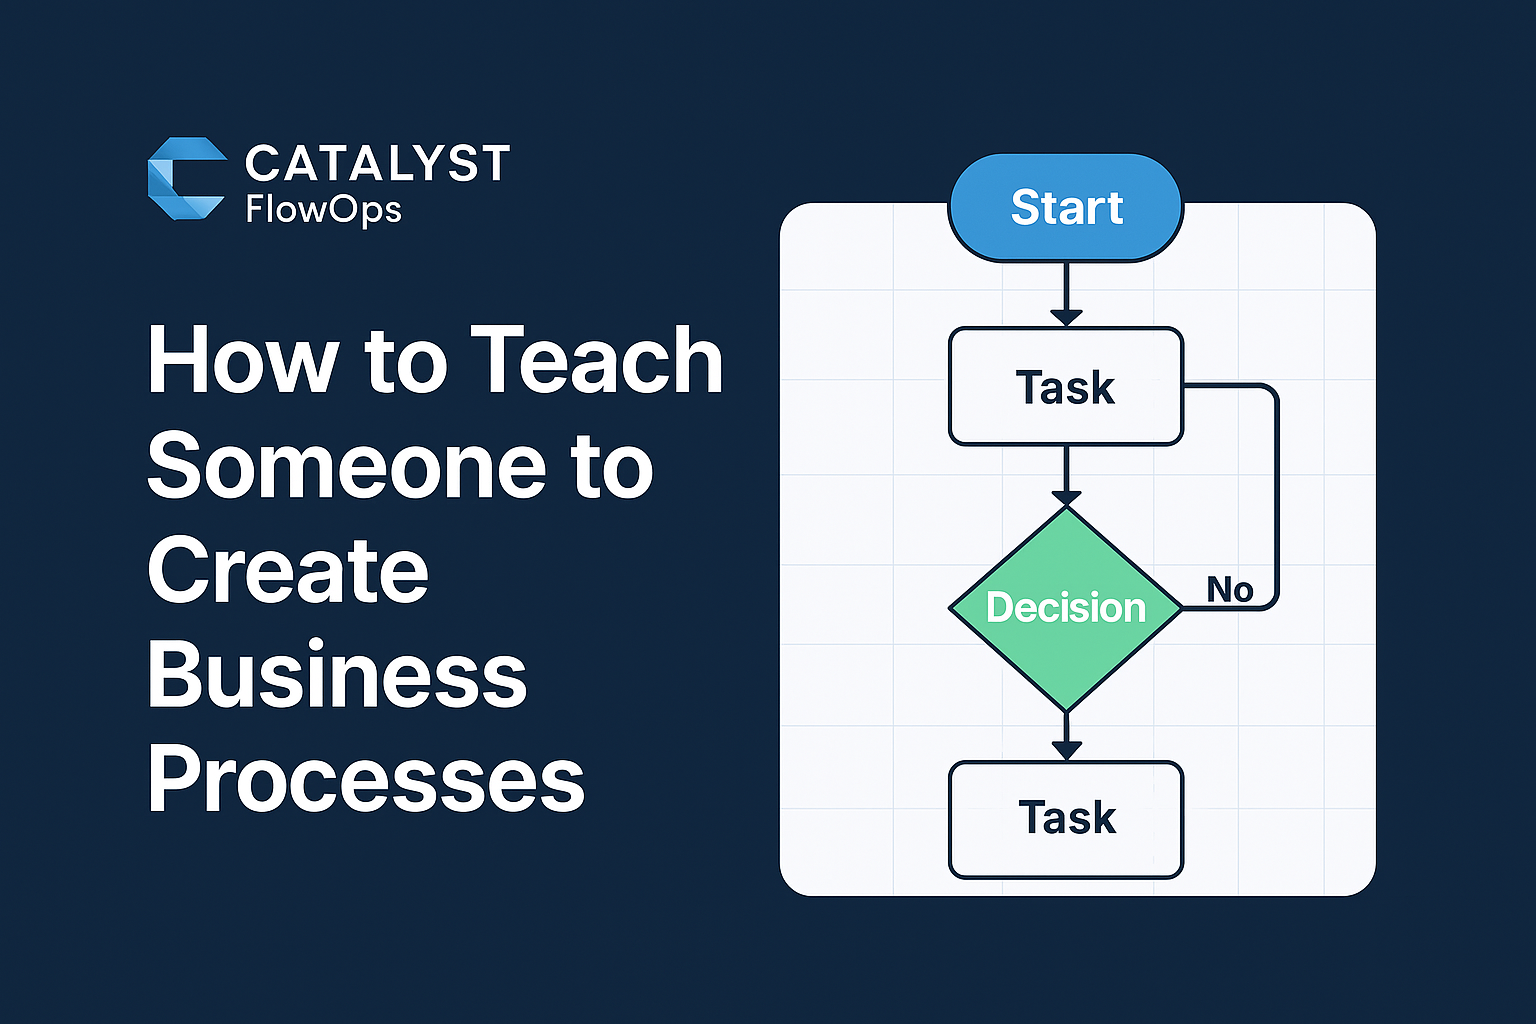
A simple editable flowchart you can copy and use for documenting any business process.
👉 Click here to open the template in Diagram.io(Coming Soon)
This template includes:
Tip: To use it, click the link, then choose Device to save and edit your own version, or connect to Google Drive for easy access.
Comments (2)
Yo, 188betthethao got my back when I need a quick bet. Straight and to the point, just how I like it. Check it out here: 188betthethao
Your blog effortlessly melds perceptive analysis with engaging storytelling, making complex topics digestible for every reader. It would be intriguing to see you integrate evolving topics like machine learning or eco-friendly initiatives into your narratives. Your knack for demystifying ideas while retaining their essence is remarkable. Keep up the stellar work. your next piece promises to be another essential addition to your repertoire!
Information: https://gpt4geeks.com/what-is-huggingface-ai-detector/
искусственный интеллект